
( Try SQL Connect free for 15 days )


Download and install the software on your Windows (32bit or 64bit) or Mac (dmg) device.
If you don't have an account yet, click on the ""SIGN-UP"" button to receive your login credentials via email.
Connect to Oracle, Salesforce, Snowflake, MySQL and more. Query your enterprise data in real time, right from the interface.
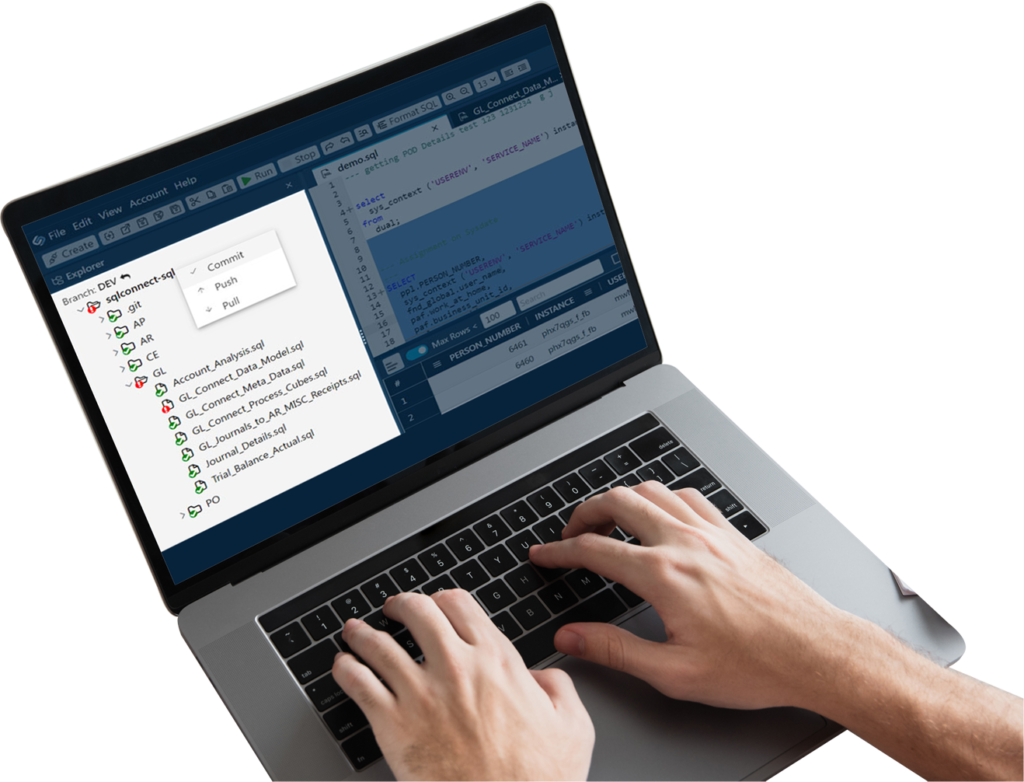
Instant SQL query execution across Oracle, Salesforce, Snowflake and more, all in real time.
Write in plain English, get accurate SQL instantly. AI-powered, always on, no expertise required.
Precise, role-based access control at the table level, configurable per user profile.
Log every query, every user, every data source. Full visibility for enterprise compliance teams.
Watch how SQL Connect has streamlined workflows and boosted productivity for our users.
Sally Beauty
With the help of SQL Connect we can still, post our cloud journey, seamlessly be in control of underlying data to describe object details and export output results. Preferred by developers and system administrators, SQL Connect has multiple environment connections in one place and works well with both SSO and non-SSO. The product roadmap looks very promising as it includes a long list of new features and improvements.
Group Manager Enterprise IT & Operations, Three.
There are many perceived benefits to moving from an on-premise ERP application to a cloud-based SaaS equivalent but retaining access to the underlying data store is not one of them. SQL Connect overcomes those limitations and enables a return to a more productive data querying environment with a tool which enables connections to cloud databases, provides database browsing features, multiple query and result windows all typical of the products we knew and loved in those distant days prior to the advent of the cloud.
BI Reporting Lead at ITV
SQL Connect has reformed our data querying and reporting processes at Chewy. Its user-friendly interface and powerful features have significantly improved our efficiency in consolidating and reconciling data, running queries, and generating reports. It’s a game-changer for our team!
Lead Software Engineer at Chewy
I was really excited to find this tool at CloudWorld a few years ago. I use this tool every day. Coming from a database world where you could easily access the database, moving to the cloud and finding out you can’t was a big frustration. SQL Connect solved that for us!